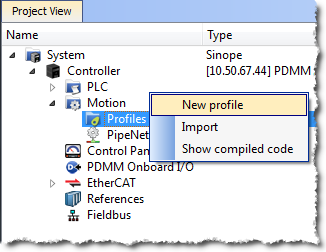
Figure 4-41: Cam - New Profile
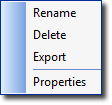
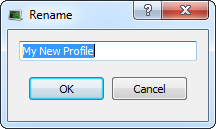
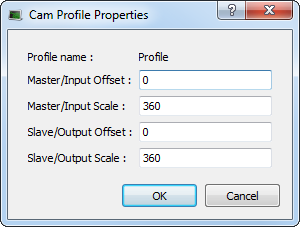
Figure 4-42: Cam - Define Profile Filename
To create a cam profile, do as follows:
Figure 4-41: Cam - New Profile
Figure 4-42: Cam - Define Profile Filename
| Field | Description |
|---|---|
| Profile name |
The name of the Profile which is:
|
|
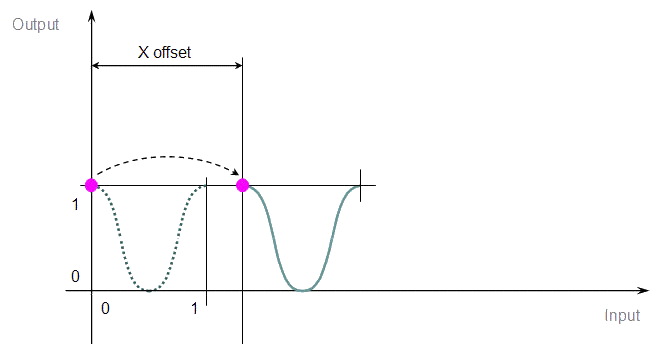
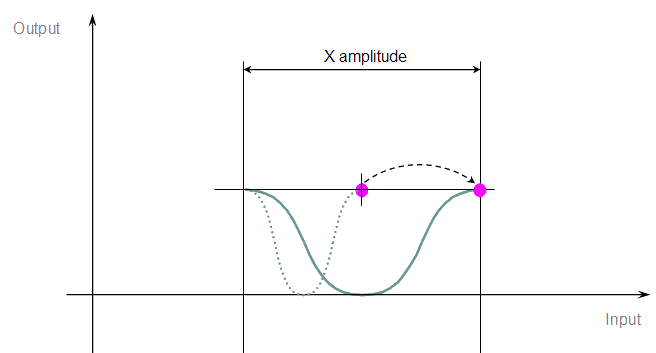
Master/Input Offset Master/Input Scale Slave/Output Offset Slave/Output Scale |
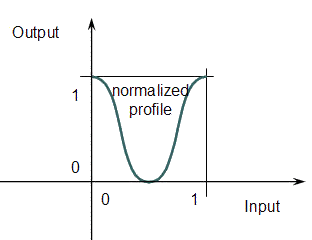
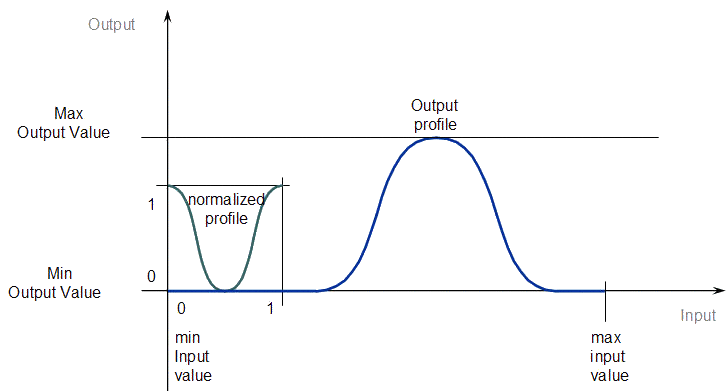
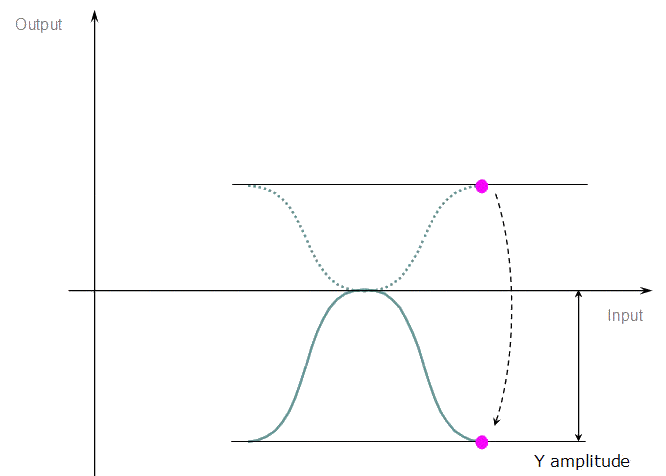
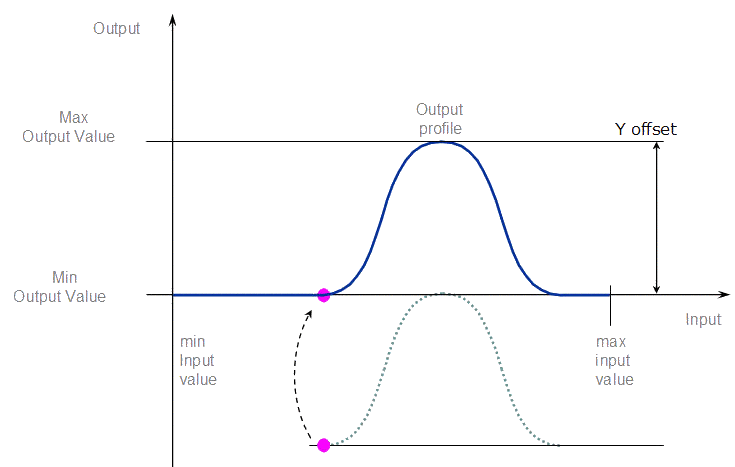
Offsets and scales on the X and Y axes transform the normalized profile into the output profile as shown on the two figures below:
Figure 4-43: Cam - Normalized Profile
Figure 4-44: Cam - Output Profile For more details, refer to the paragraph below: Four Parameters Transforming the Cam Profile |
Table 4-1: Cam Profile Parameters
When you change a Cam Profile property, a dialog box indicates the progression of the operation.
For more details about editing the profile, refer to Cam Profile Editor.
Once defined, you can associate the cam profile to a cam Pipe Block in the Pipe Network as follows:
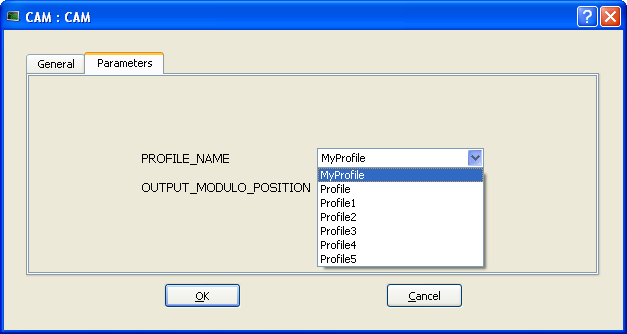
Separating the declaration of the cam Pipe Block from the cam profile provides the capability to prepare several different cam profiles and then apply one of them to the cam Pipe Block.
If you change the profile's filename, do not forget to update the cam Pipe Block accordingly.
|
Stay Connected with Kollmorgen       
|
Copyright © 2015 Kollmorgen™ |

|